Skip to main content
Search
Search This Blog
Mosehouse Studio
A compendium of craft projects
Posts
Showing posts from May, 2012
Show all
May 28, 2012
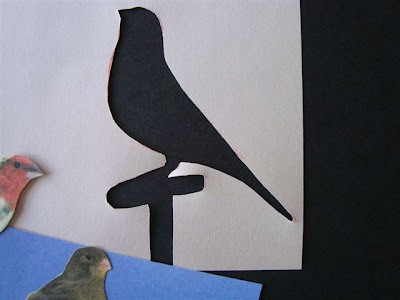
pop-up birds
May 26, 2012
rags
May 20, 2012
tea cup cards
May 14, 2012
frankie cut-outs
May 07, 2012
birds and beads
May 03, 2012
red white and blue
May 03, 2012
tasty colours
Newer Posts
Older Posts
Home